Make a Mud Knot in Your Horse’s Tail
Growing and maintaining a beautiful tail is a labor of love for most of us. We want to protect it at all costs, and one way to do that *temporarily* is to do a mud knot. Mud knots are braided/knotted/rolled and twisted to keep the tail high, tight, and clean. But only below the tailbone.
Jump to video and shopping
- Think of a polo pony with their typical wrapped-up tails – this is what you can duplicate with a mud knot. I might do a mud knot for a few reasons – a polo match or any short amount of time that the tail needs to be out of the way. This may be for turnout or if your veterinarian needs the tail out of the way for a procedure.
- Because of how mud knots are done (around the lower part of the tailbone), I suggest using them cautiously. Before you start, you may be relieved to know that mud knots are easier to do and remain more secure if you start with a slightly dirty tail. Adding detangler or knotting just after a fresh shampoo/conditioner will leave you pretty frustrated.
Steps to make a mud knot
- Remove a section of the tail from the underside of the tailbone. It can be pretty thin and does not need to be as long as the rest of the tail. This will ultimately secure your knot, and will not be put into the initial braid.
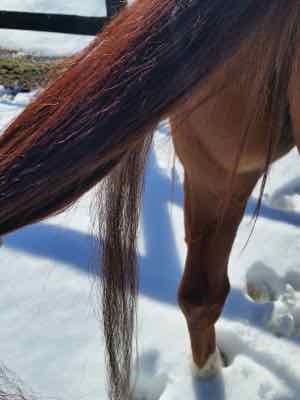
- Braid the rest of the tail from the tailbone down – not too loose, not too tight. Leave about a foot or more at the bottom of the braid unbraided.

- Instead of having three sections of hair at the end of your braid, combine two of them into one and leave the other one. Now you have two sections at the end of your braid.
- Fold the braid and bring the two sections up to the tailbone.

- Use your two sections to wrap around the tail in opposite directions.
- Join the two sections back up again and twist them in a clockwise direction, the twist will eventually double back on itself, creating a loop.
- Grab the piece of hair that you pulled aside at the very beginning. Use it to wrap around (clockwise again) the twisted loop.
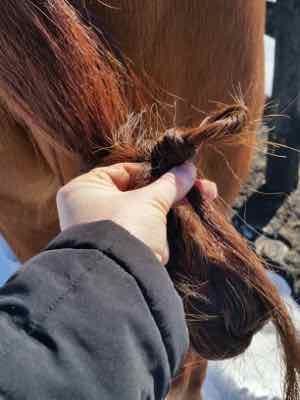
- Use both hands and tug your contraption down to tighten it. You are done!

- You can finish it off with a loop or two of vet wrap, but be very careful about the tailbone. Any wraps should be below the tailbone.
- Some horse tails are just not going to work with a mud knot. They are too clean, too slick, or too thick. If your mud knot doesn’t hold because your horse’s tail is too slick, definitely add the vet wrap around it. Tail bags are another option.
Have fun playing with these!

Click these links to shop for horse supplies. As an Amazon Associate, I earn from qualifying purchases, which are not a penny more for you. I couldn’t be more grateful for your support! You can also visit my Amazon storefront here: PEG storefront.

Brighten duns, palominos, and golden colors.


For dark bays, black points, and black horses


This waterproof tail bag is especially great for white and gray tails.


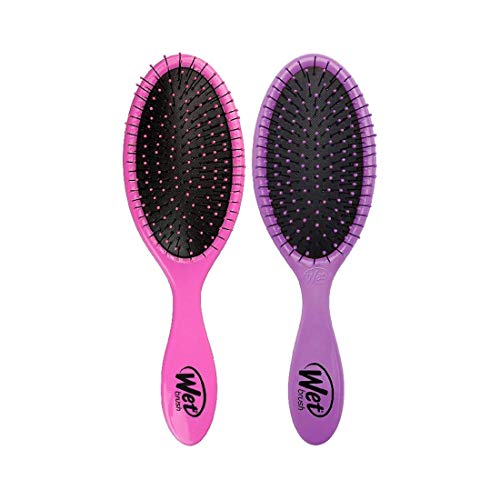
Gentle and effective detangling for your horse's mane and tail.


Protect your horse's tail during travel.


Cover scars and enhance your horse's color with this medium brown shade.


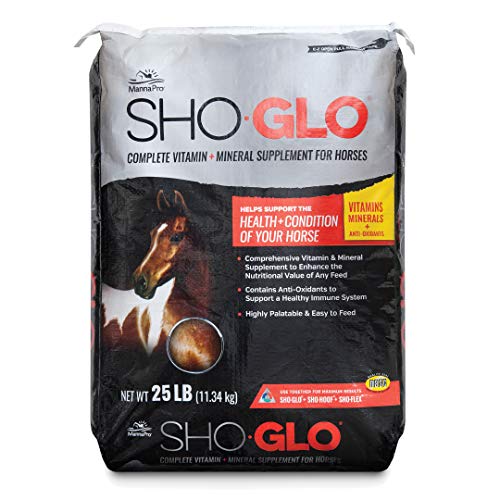
Omega 3's plus gut health support in a delicious cold milled flax formula. It's delicious and it will turn your horse's coat into a mirror.