
Troubleshooting Checklist
- It’s always helpful to read the instructions. That’s a last-ditch effort, but just for funsies, read them first. Trimmers, body clippers, and shears are slightly different, and the owner’s manual has many tips for smooth operation.
Check the clipper hinge, lever, or latch
- The mechanism that holds the blade to the clipper body varies with each design. Horse clippers have moving parts, and the areas that interact with the blades might be stiffer during the first few uses.
- The hinge springs secure a detachable blade to the clipper body. First, ensure the blade is seated at the bottom of the hinge. When you close it, things should snap in place.
- For shears, there are extra areas to add clipper grease (not clipper oil) before use. Grease helps you find the perfect amount of tension when attaching blades with the tension spring and protects against friction.
- Trimmers are the easiest to check, as the bottom of the blade rests on the clipper body and snaps into place. There are no moving parts.
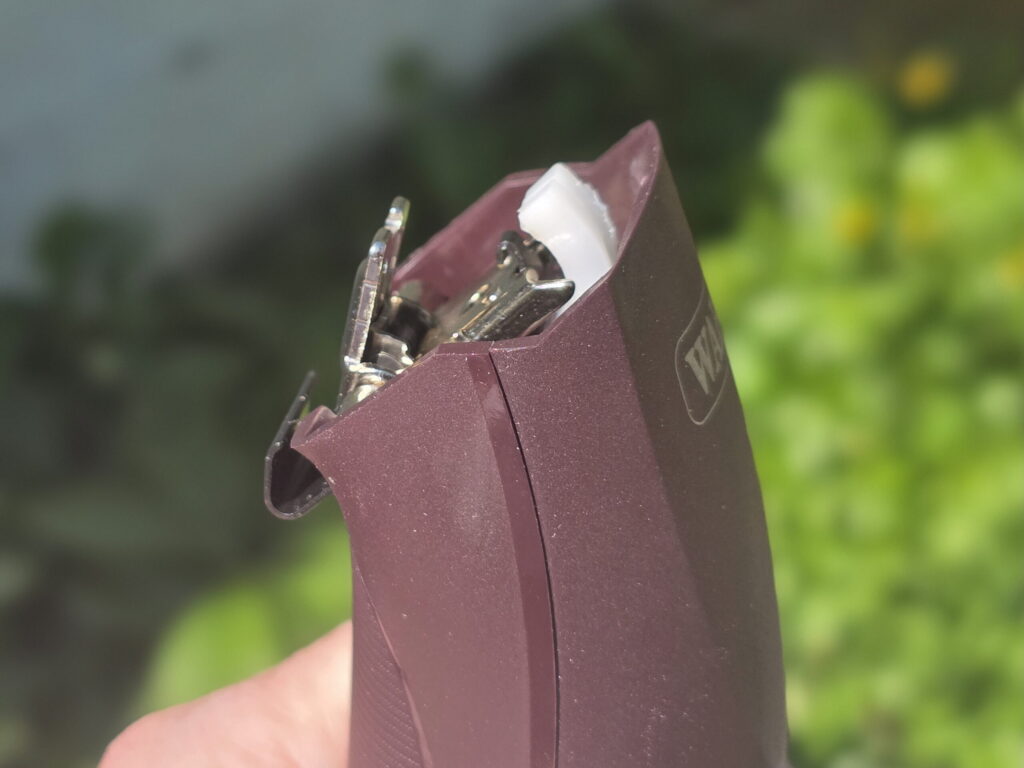
Blades are best when the drive tip (white) is aligned with the blade on the hinge. Turn the clippers ON before snapping the blade on.
Check the blades
- If the hardware looks solid and unbroken, ensure they are perfectly aligned. All blades are two parts, the cutter and the comb, and those attach with screws or on a hinge. Getting everything lined up is the first step to ensuring correct tension and placement.
- There should not be any rattling, wiggling, or uneven feeling when you hold the clippers while on. Take a close-up look at the blades. Are the teeth moving back and forth? The blade drive tip creates this movement for most styles of clippers. With the blades off, turn on the clippers and make sure the blade drive tip is vibrating.
- Reattach the blades. Place the clipper blade on the hinge for trimmers and body clippers, and then turn on the clippers. Then, snap the hinge closed. Snapping the blade on while the motor runs helps alignment.
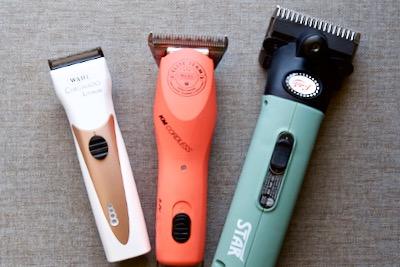
- Tension shears correctly for clippers like the Lister Star or Eclipse. Loosen the tension knob to start fresh. As you tighten it back up, stop when you feel a clear change in tension. Then, reverse direction for 1 1/2 rotations for ideal tension. Check the owner’s manual if you are not using Lister shears for exact tensioning instructions.
Add oil for lubrication, not coolant
- Do the clipper blades have oil? There’s one fast way to dull blades – a lack of lubrication. Clipper oil reduces friction, which reduces heat and keeps your blades in good condition.
- For shears, oil across the edge of the teeth and down the sides where the two clipper parts connect. There are also additional openings for oil across the top of the clippers.
- Oiling detachable blades for body clippers is similar. Oil goes across the teeth and down the sides. Trimmers only need a few drops across the 5-in-1 blade.
- Run the clippers for 10 seconds after oiling and remove any excess with a cloth.
- Cleaning and oiling your blades after every use ensures the best results on your next clip. This care also prevents rust and corrosion. And while coolant is excellent while you clip, it evaporates quickly and needs oil afterward. Coolant isn’t a substitution for clipper oil.

Batteries and power sources
- Check the battery if your clippers are cordless. A waning battery will have fizzling power, which impacts how the blades cut hair. Most batteries have some charge from the manufacturer, but it may have widdled down.
- Check the cord and outlet. All should be fine with the cord, but many outlets in barns are GFI and may have tripped. Reset and outlets and try again. A trip to the fuse box may be needed, especially if the electrical system is already powering a fan, lights, or any other appliance.
Is Your Horse Clean?
- The number one reason new clippers are not cutting is a dirty horse.
- Dirty horses make for difficult clipping and dull clipper blades. Free of dirt and dander, a clean, dry horse is best for the blades to glide through the hair. Hair clippings are more likely to clog up your equipment when they have dirt and dander gooping up the blades.
- If you use grooming sprays after bathing, they usually help the clipper glide through the coat. Too much sheen spray after bathing may make the hair gummy or glue it down where the blade’s teeth can’t easily grasp the hair.
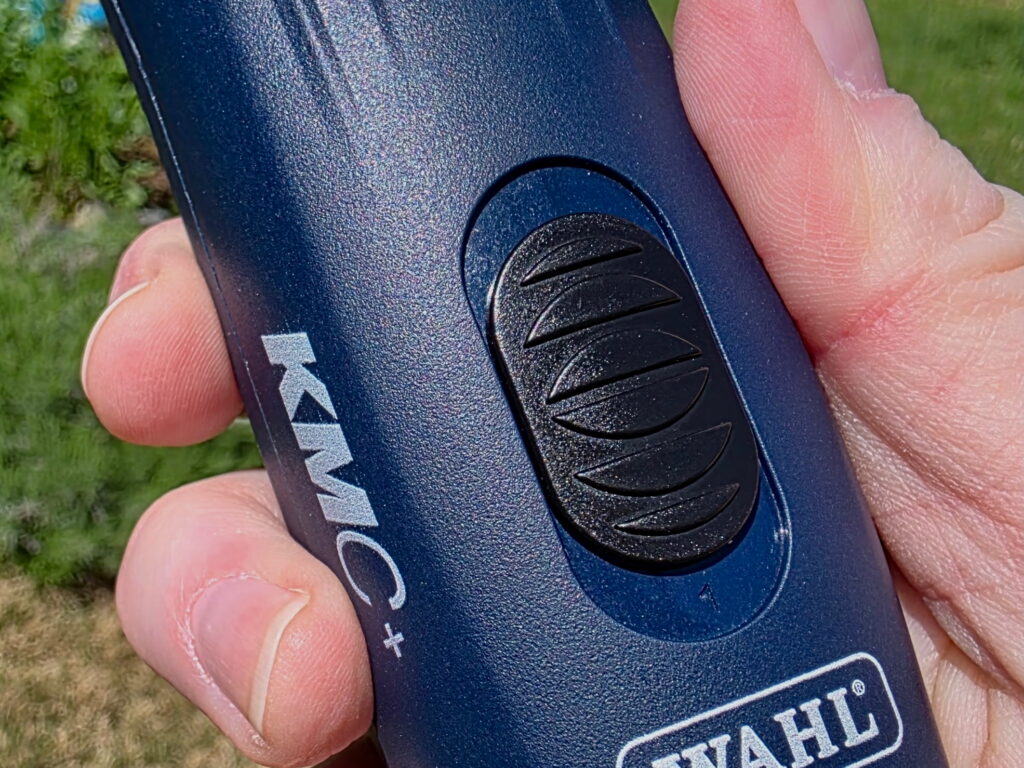
Two-speed clippers give you more versatility.
Make Adjustments When Your Clippers Are Not Cutting
- Are you using the best speed setting? Two-speed clippers give you options. The slower speed suits sensitive areas, while the faster speed is best for larger body sections and thicker hair.
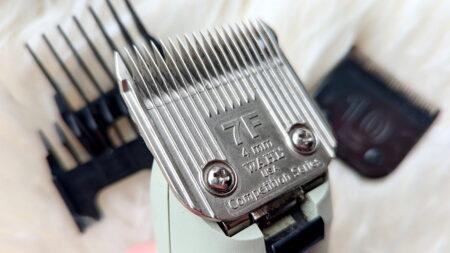
- Is the blade appropriate for your horse’s coat? A #10 blade clips close to the skin, while a #7F leaves almost 4 mm of hair. Using the #7F on a shorter coat makes it difficult for the blades to grab the hair. Try switching blades.
- Take a look at the teeth of the blades, too. Is there enough room for the hair to go between the teeth? The amount of space dictates how much can fit into the clipper. If you are using trimmers for a thick coat, the tiny teeth won’t be able to feed the hair well. You should switch to shears, where the teeth can accommodate a thick coat.
How’s Your Horse Clipping Technique?
- Finding the best angle and pressure to apply to your horse impacts how the hair cuts. Body clipping is part preparation and part skill, but mostly practice.
- What angle are you holding your clippers? Are the teeth perpendicular to your horse, or more horizontal to slide under the hair? Change your angle to improve clipping.
- Adjust your pressure. You should not be tired from pressing into your horse, but you should not be light as a feather. Use enough pressure to get under the hair and glide along your horse without skipping. Changing pressure can help feed the coat into the teeth for a smooth clip.
Now you should be good to go! And if not, refer to the first item on this list – the manual.
How can my clippers be serviced?
Manufacturers often have a repair and maintenance service available. You can send them there or take them to an authorized service center. You’ll want to keep the warranty intact, and often, the manufacturer is the best place for repairs when your clippers are not cutting.
Video:

Go Shopping

Stock up here for your horse supplies! As an Amazon Associate, I earn from qualifying purchases, but it’s ZERO extra cents to you. As a Walmart Associate, I earn from qualifying purchases as part of their affiliate plan. Thank you for your support! You can also visit my Amazon storefront here: PEG storefront. You can visit my Walmart shop here: Walmart shop. Thank you!