Tacking up Your Horse – Safety Checklist
- You may already know this about me, but when I mention something that could be dangerous or unsafe or a problem, it’s because I’ve seen it happen. So I pass this experience on to you, to hopefully save you some trouble, embarrassment, and possible heartache.
- One thing I see A LOT is horses that are not ideally tacked up. Sometimes things are ok and could be better, other times it’s a giant red flag. I’m not writing this to harp on people, it’s a reminder that our horses are not robots, and their bodies are not tools for our disposal. Every act of kindness and safety towards our horses matters.
Tack that’s regularly cleaned, conditioned, and inspected is safer and stronger.
A handy checklist of things to notice as you are tacking up
- Before you even get to the tacking-up part, make sure your horse is clean. No horse has every said “leave the dirt and grit on me so my saddle is super uncomfortable and them make me exercise”. This goes triple for the girth area. Saddle and girth sores are partly due to tack that doesn’t fit and partly because of a dirty horse.
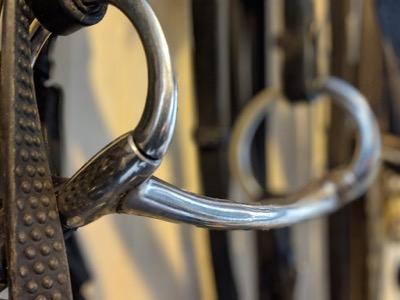
- Make sure your tack is clean and safe before you use it. Safe tack is clean, strong, flexible (!!!!), and without cracks. You can’t oil a bridle back into being safe – once it’s dry, it’s weak and can easily break.
- Please touch and feel your horse’s saddle pad before you put it on. A sweaty pad that’s dried might be a bit crunchy or covered in dried salty hair. Wash it or put some elbow grease into brushing it back to softness before you use it.
- Use a clean bit every day. You wouldn’t want to eat with a dirty fork? Or would you?
Clean daily!
Make sure your bridle fits your horse.
- When you have it all connected on your horse, the crown piece should not be pulling forward or cutting into the base of his ears. It’s possible that you don’t have things adjusted correctly and you need to lengthen the cheekpieces. It’s also possible that your horse’s broadband is too short, which pulls the crown forward. It’s also possible your horse would do better with a crown piece that’s contoured around the ears. For more on bridle fit, this article has you covered!
- Speaking of the crown part of your horse – make sure he has a bridle path. This allows your horse’s tack to lay flat against him. A bridle over a thick mane means that there’s a lump under the crown piece, which can’t possibly be comfortable
- The noseband should have room for a few fingers. Tight nosebands aren’t comfortable. Tight nosebands are not allowed in some show rings. Tight nosebands also don’t give you feedback about your horse’s comfort, which goes hand in hand with your riding skills. If your horse is opening his mouth or sticking his tongue out, he’s telling you something. You could be holding on with a death grip, you could be riding him front to back instead of focusing on his hind end, he’s not connected to the bit properly, your reins are too short, he needs to go back to the basics, his bit is not right for him, lots of things. Address the training issues instead of clamping his mouth shut.

Ponies are the best!
- Use keepers to tidy up your horse’s bridle. This looks nicer, and also any loose straps won’t have the chance to pop your horse in the eye. Because eyes don’t grow back. If you are missing some keepers, order a few and use some braiding elastics in the meantime.
- When you are putting the bridle on, remember that your horse’s ear is not a handle. If you are having trouble with the giraffe horse during bridling, you have a medical issue or a training issue.
- When taking off the bridle, give your horse time to let him drop the bit. Bit removal + teeth clanking = rude on your part.
Make sure all is good with your horse’s saddle pad(s) and saddle.
- I can’t stress the importance of saddle fit. I have seen horses go from problematic under saddle with sour attitudes and bucking to dream horse with proper saddle fit. Having your horse’s saddle fit by a professional is inexpensive and necessary.
- I also can’t stress the importance of having a saddle pad with contoured withers. A saddle pad with a straight top puts downward pressure on his withers. If he can’t lift his withers, he can’t use his back, your horse can’t bring his hind legs under, and it’s going to be uncomfortable. You can find western saddle pads with contoured toplines, too.
- While we are on the subject of this, make sure the cantle of your horse’s saddle isn’t stacked on the edges of any saddle pads or numnahs. Keep things staggered.
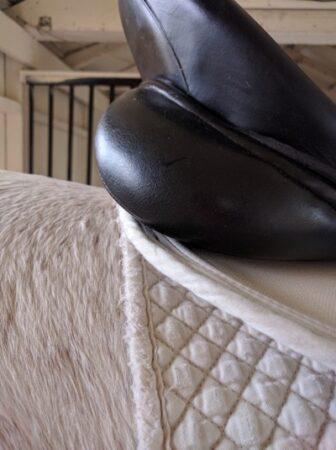
OUCH OUCH OUCH! Please stagger your saddle pads and the back of your horse’s saddle. For his comfort.
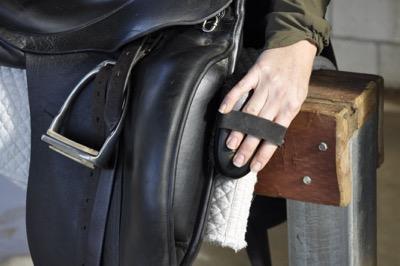
- Just as you should lower your butt slowly onto the saddle, you should also slowly lower your horse’s saddle on his back. If this isn’t possible, ask for help. Use a step stool. Do more pushups. Lots of options instead of throwing something on.
- Keep your horse’s shoulder blade clear of the saddle. This is one way to be sure you don’t have things too far up your horse’s neck.
- Tighten the girth over time. And double-check once you get on. Your weight will squash things down, and your position above the girth makes it easy for you to make adjustments to the girth. Also check a few times during your ride, if you are adjusting things as you go along, you might have a saddle fit or girth fit issue.
After your ride, take care of your horse and his tack.
- Make sure the stirrups are up before you slide the saddle off. No one wants a clunky metal thing dragging over their spine. The stirrup on a western saddle can be hooked on the horn for saddle removal.
- And then taking things off in a logical manner! Undo breast plates, croupers, martingales, etc. before you undo the girth. The girth should be undone only a second before you take off the saddle. Otherwise, you could have an accident – a loose horse with loose tack, a saddle that ends up in the dirt with a cracked tree, you name it.
- When you are cooling out, doing your post-exercise grooming routine, and cooling off your horse’s legs, take the time to clean your tack.
Put safety first. Close things you open. Clean up after yourself, and don’t leave your halters attached to cross ties!

Stock up here for your horse supplies! As an Amazon Associate, I earn from qualifying purchases, but it’s ZERO extra cents to you. You can also visit my Amazon storefront here: PEG storefront.


Clean anything and store anything with this versatile hook. Easy to bring to horse shows, too!


This is castile soap-based, so it won't leave that gooey stickiness that glycerine-based soaps can leave in humid environments.


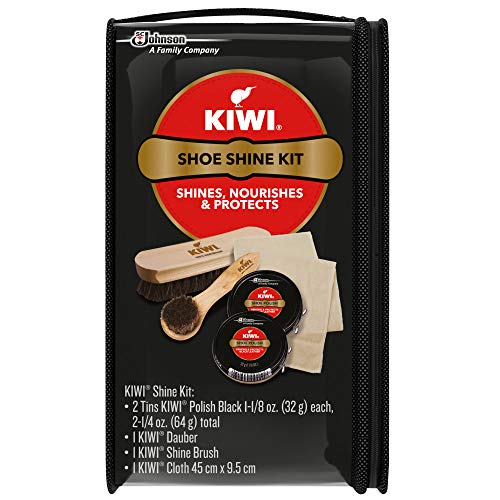
There no time like the present to clean your tack after every ride!


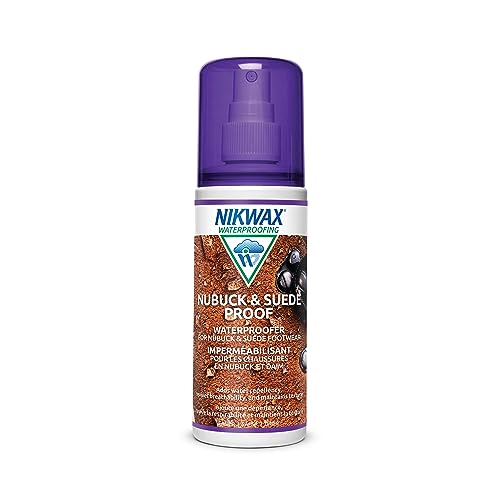
Keep your horse's leather from snapping with some deep conditioning.

Set them free upon thine enemy (JK, not really, but you can move them to a safer spot for everyone).

Thank you!