The Cross-Tie Area – How to Make Your Grooming Area Safe
For the sake of simplicity, I’ll call the “cross-tie” area wherever it is you groom and tack up – it could be a hitching post or a tie ring, also. Because I know for certain that some of you can’t stand cross ties one little bit.
jump to shopping
The answer to this lies in a two-part discussion. One, your horse needs to be trained to stand quietly. Two, the cross ties themselves better be safe, and the area around them needs to be safe.
- It’s up to you to train your horse stand. There are loads of ways to do this. I always advocate one of reward and patience, and it comes along with grooming and caring for your horse every single day in the same manner. Repetition works, as does praise. You can glean ideas from this gem about helping your Farrier not get kicked in the head.
Keep the cross tie area safe.

George here can peek around if he needs to.
- The actual ties need to be a proper length so your horse has some range of motion in his head and neck. This allows him to see a bit more, which is good for the sensitive horse that might react to things he hears and can’t see. A little bit of movement is necessary for him to communicate what feels good. If he can’t move, you are the one with the disadvantage.
- The ties should have some sort of safety mechanism to them to break away in case of an emergency. More on that here – including types of buckles and snaps to use. If you have a panicked horse freaking out in the cross ties – you won’t be able to use any quick release snaps if they are attached to his halter – too much movement and flying legs.
- Put the safety and quick release snaps at the wall for easy removal. This way, if your horse is legit freaking out you can keep your distance from him while still being able to release the pressure. BUT – many of you want them at your horse’s head so that if he freaks out and breaks something, the rope won’t be dangling when he releases. But really – put them at the wall and at the halter for optimal safety.
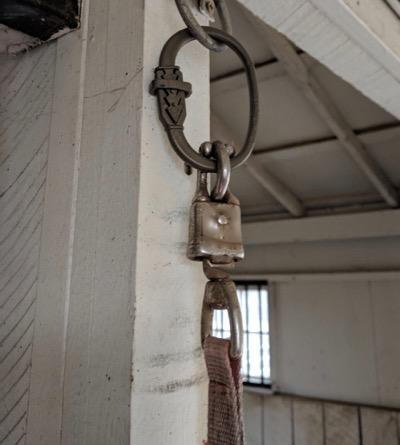
Quick-release snap at the wall and a safety Equi-Ping for good measure.
- I love a cross tie area with a back wall. Nothing says “I (maybe) can’t flip over” and “I can’t escape backward” more than a wall at the butt.
- The cross tie bay should be wide. Ideally, wide enough for him to comfortably walk into and fully turn around without rubbing a rail, wall, or cabinet. If that’s not the case, teach him to back into space if there are indeed three sides to the cross tie area.
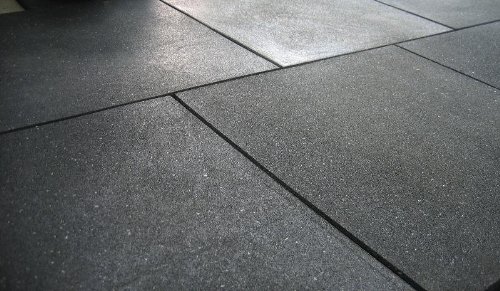
- The footing should be safe and level. Concrete can get slippery. Unlevel floors don’t give your farrier a fair picture of the hooves. Dirt floors get muddy. Mats are a super addition to a cross tie area. I have seen some with gravel also, but be wary of stone bruises. Mats over gravel seem to be a good compromise for drainage and hoof comfort.
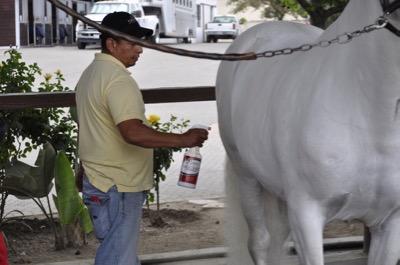
This cross tie area is super wide, and with a butt bar of sorts. A wall might be better?
- Keep cabinets and supply areas well clear of horse hooves and noses. The tighter the space, the better it is for cabinets to be outside of the cross tie space. You might be able to hang some hooks for frequently used items like hoof picks and lead ropes.
Bonus items to have around the cross ties:
- muck tub and manure rake for poops
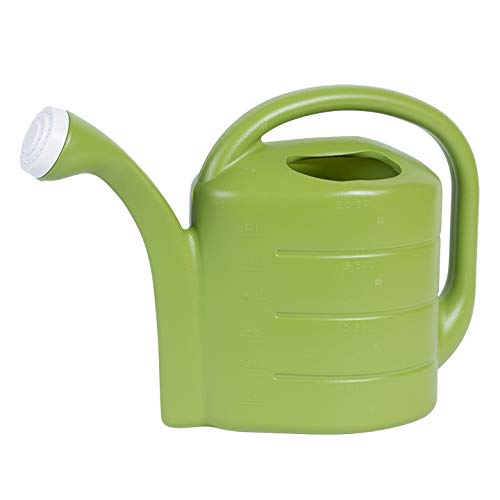
- hose bib for bit dunking water and hosing out big messes
- an electrical outlet so you don’t need to drag over the extension cord for clipping
- bridle hooks

Stock up here for your horse supplies! As an Amazon Associate, I earn from qualifying purchases, but it’s ZERO extra cents to you. You can also visit my Amazon storefront here: PEG storefront.

No more ammonia stink!


Horse snacks on a rope

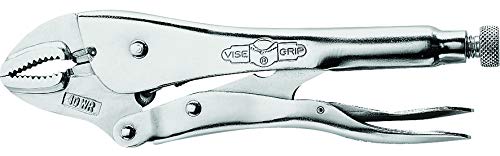
Squish things then lift them.


What's better than one rubber bucket? Two.


Keep your horse's water and noms warm this winter.

This is the best broom for getting every last bit of shavings out of the barn aisle.


Scrub all your stress away! Easily attaches to your drill for quick and effective poop-scrubbing from places that poop has no right to be.


Classy and practical stall guard, custom made for you!


Let your horse have the best view with this spiffy stall guard!


One side of this innovative slow feeder is solid - perfect for pastures! It will hold a small bale of hay.
Use code 15PROEQUINE for sitewide savings on slow feeders and more.

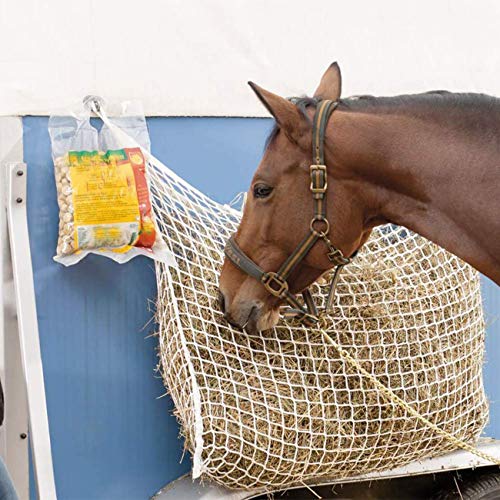
2 sizes of this slow-feeding hanging hay toy - snack size holds a few flakes, and the half size holds 1/2 bale. There's also an XL that ground feeds.
Use code 15PROEQUINE for sitewide savings on slow feeders and more.

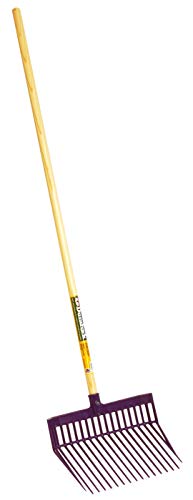
Nothing says posh like a manure fork that holds more.

This is the only latch that no horse can figure out. Unless your horse is a wizard.

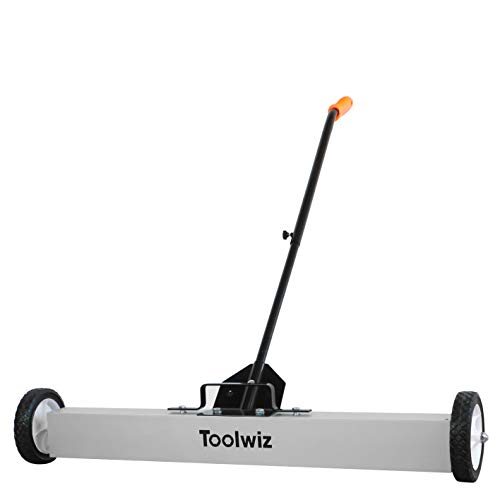
You will be amazed at what the ground will throw at ya.

Help reduce mud in high traffic areas - like gates!


Thank you!